Monday, 8 December 2014: Papercut Labs
Tuesday, 9 December 2014: A Piece of Cake Designs
Wednesday, 10 December 2014: Kellie Stamps
Thursday, 11 December 2014: Heidi Swapp
Friday, 12 December 2014: The Scrappery <<<< HERE WE ARE!!
Saturday, 13 December 2014: Seriously Scrapbooking
Sunday, 14 December 2014: Maya Road
Monday, 15 December 2014: Stampin’ Up!
Tuesday, 16 December 2014: Scrapmatts
Wednesday, 17 December 2014: D-lish Scraps
Thursday, 18 December 2014: Studio Calico
Friday, 19 December 2014: Papercut Labs
We are donating two of our kits to the prize pool so please go and participate and you could win one of our amazing kits!
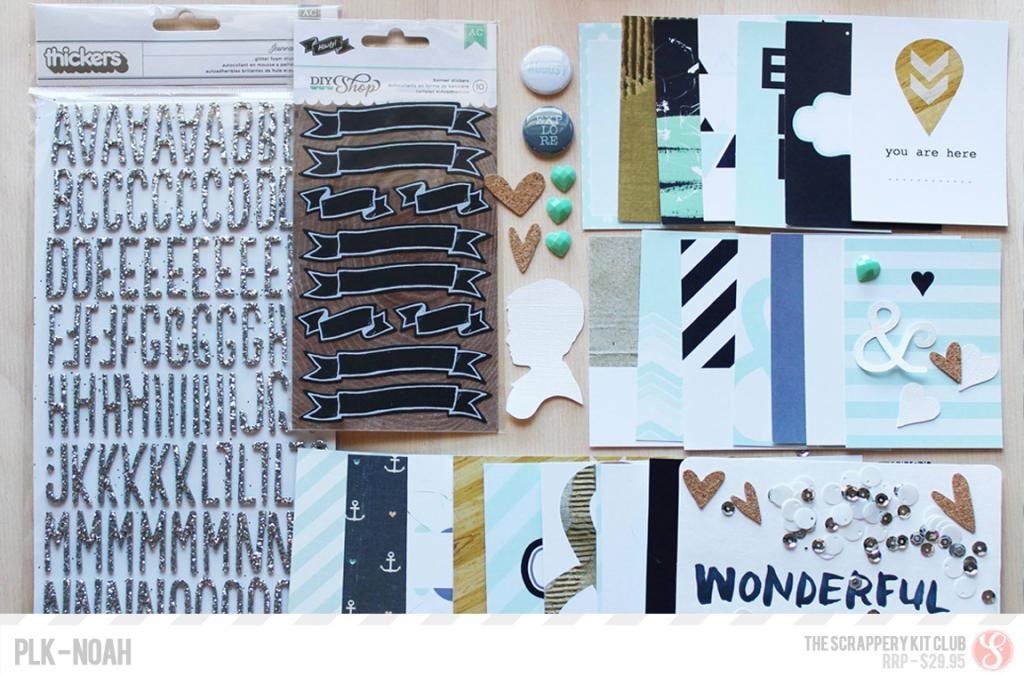
Our PLK - is our Project Life inspired kit, featuring exclusive hand designed and Australian printed Project Life sized cards and a range of embellishments, cut outs and of course, Thickers. Every kit we like to include Thickers!!
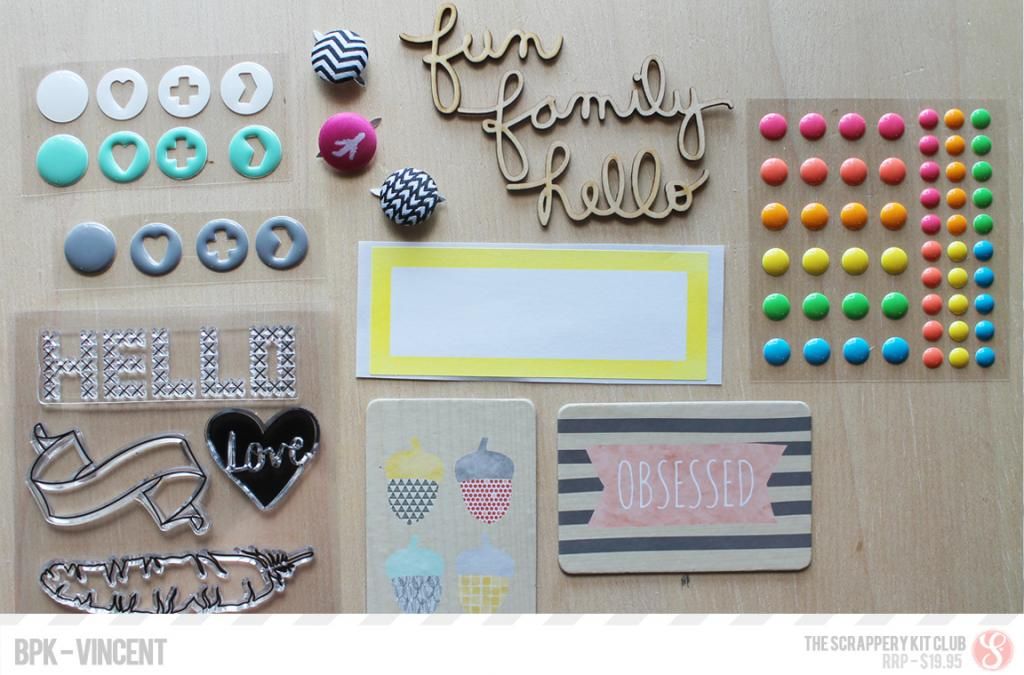
Our BPK is our embellishment kit and for our second prize we are giving you our NOVEMBER PLK - This was one of our most popular BPKs with neon enamel dots and that amazing Amy Tangerine - Stitched stamp set. Such great value!
Want to win one of our kits or one of the other amazing prizes up for grabs? Check this out.
Everyone who joins the crop party event on Facebook goes into the draw to win one of twenty-four prizes (two from each sponsor, and four from us).
However, to improve your chances of winning one of the giveaways, you can:
a. Create a project (card, layout, OTP, something paper-y) inspired by the challenges and upload it to the event page. Doing this, you’ll receive SIX entries into the giveaway draw. (Make sure you tell us which challenges you used!)
b. Comment on a project on the event page, and you’ll receive another one entry into the giveaway draw.
To see the challenges visit here
You have until the 20th of December to participate! So get in there and get creative!!
Now onto our contribution for the blog hop. Charm has created some amazing christmas cards using our old BPK Elsa - which is still available in store. I had a little fun with this months BPK Noelle and created a few cute little tags. Finally, Adele has created an adorable bunting for Christmas using last months TSK - Camille, this months BPK Noelle and a variety of other pieces from her own stash. So sit back and get ready to be INSPIRED.
**************
Hello! Charmane here! Just for something different I'm going to show you some simple cards I have made using The Scrappery Elsa BPK {which is the *Bits & Pieces* Kit} I believe there is ONE in stock HERE!
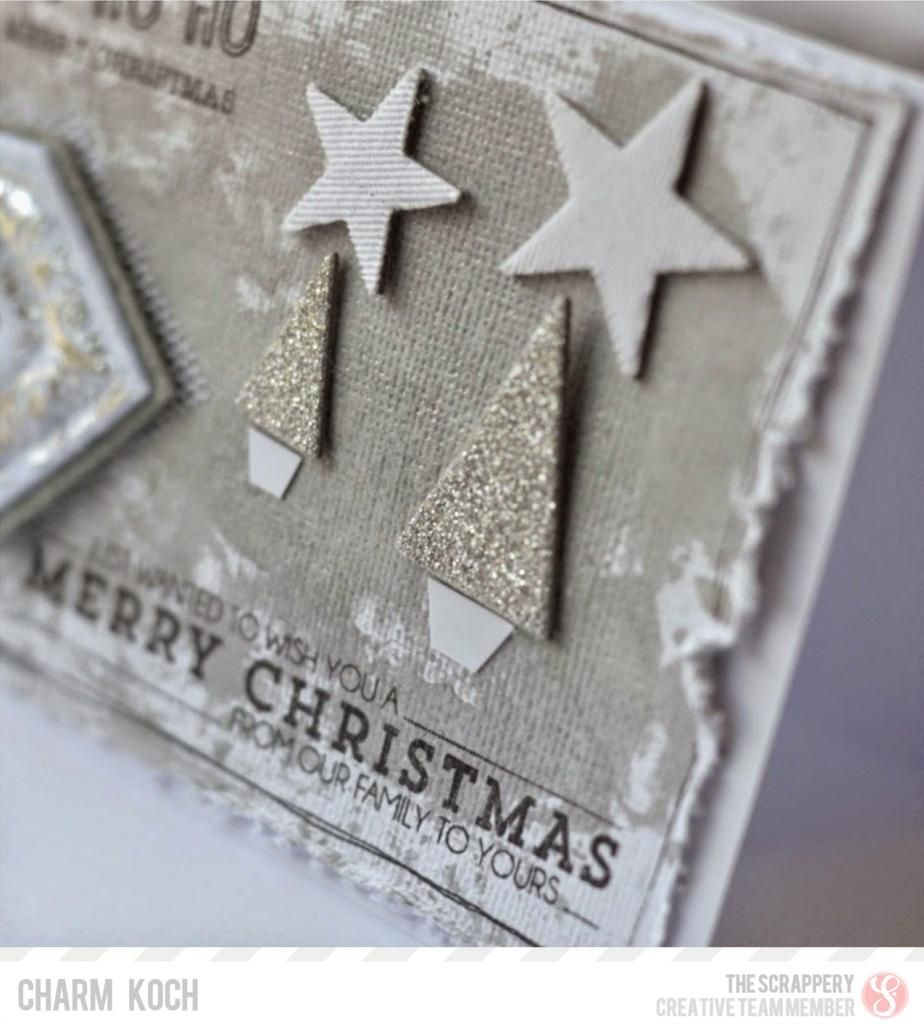
I just fell in love with all of the Silver in this kit, and knew exactly what I wanted to do with those Silver Glitter Triangles - make Christmas Cards with TREES on them, of course!
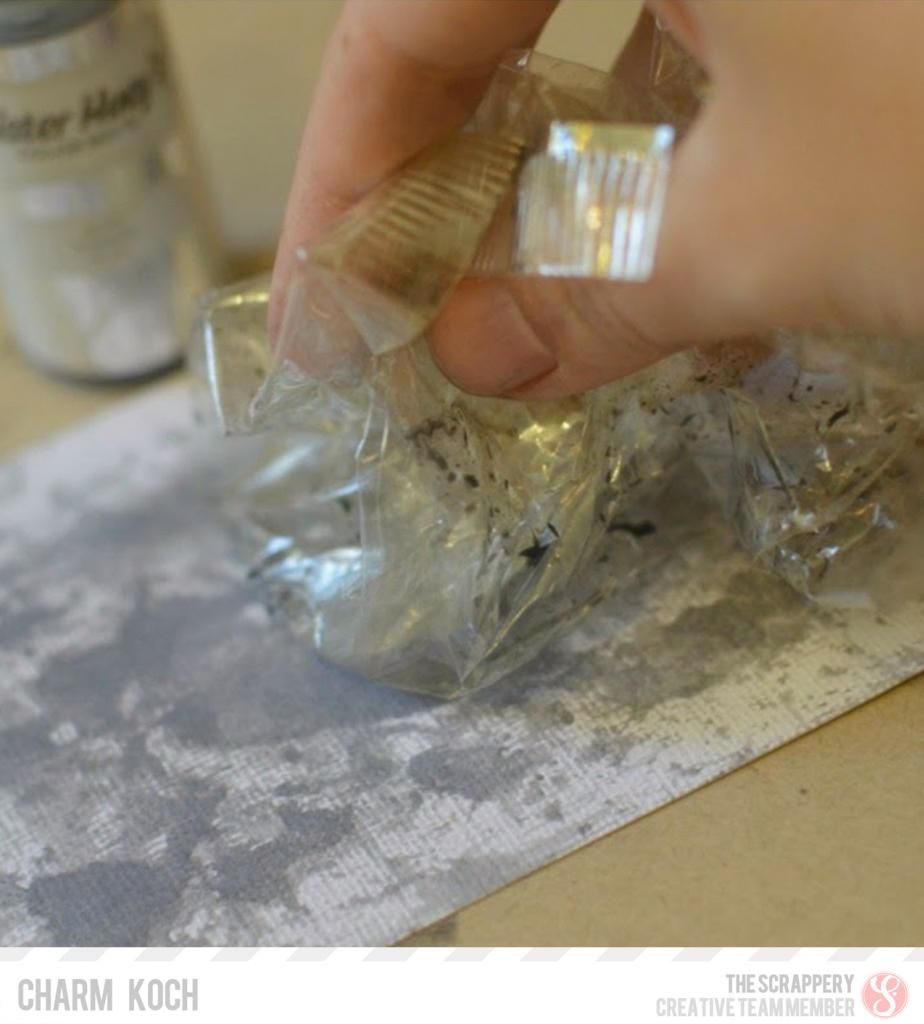
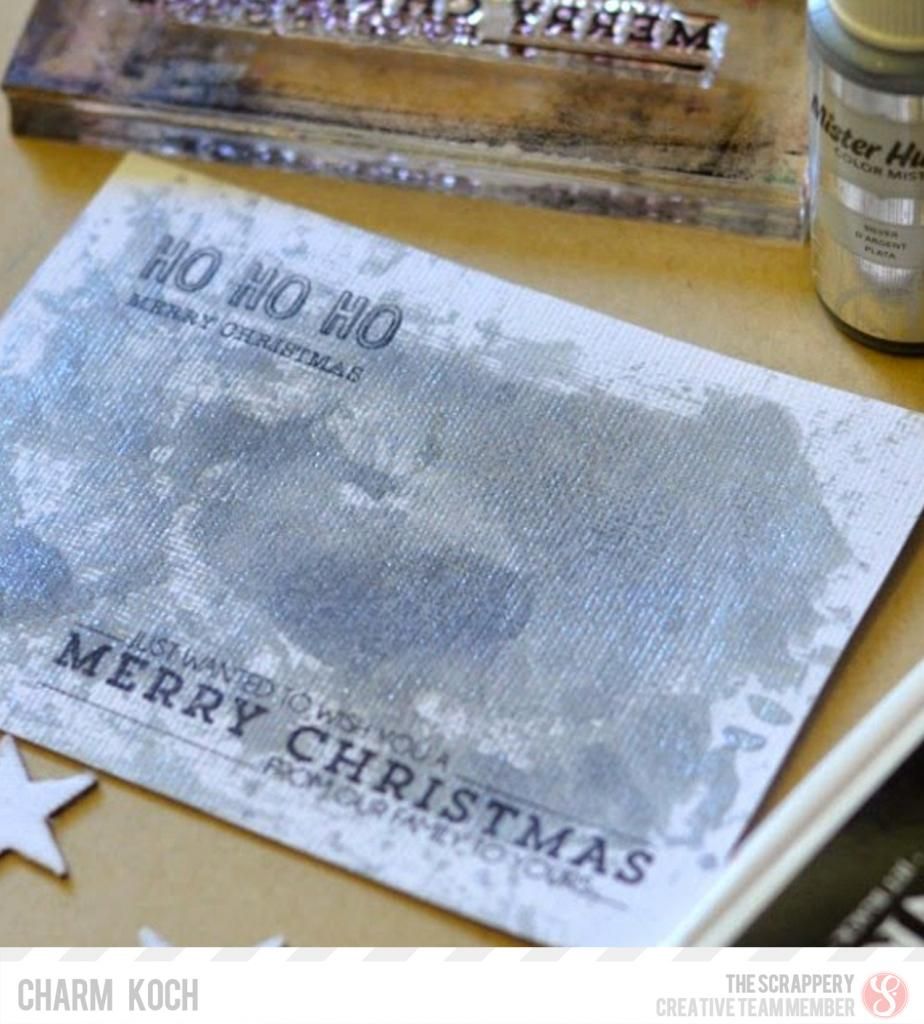
But first I wanted to create a unique background using the Mister Huey's Silver Mist, I've done this by using the "Watercolour" Background technique that I've seen being used by others - this is where you use scrunched up plastic packaging, spraying a few squirts of mist and then scrunching it onto your Cardstock... simple!
Then I've added my stamps {you may recognise them from another Contributor?}
I've then added the CUTE Dear Lizzy Silver glitter triangles, and also the Studio Calico Mistable Stars from the ELSA BPK and my own handmade Chevron...I've then added a border by using a journalling pen, then stuck it to a pre-made blank white card! Done!
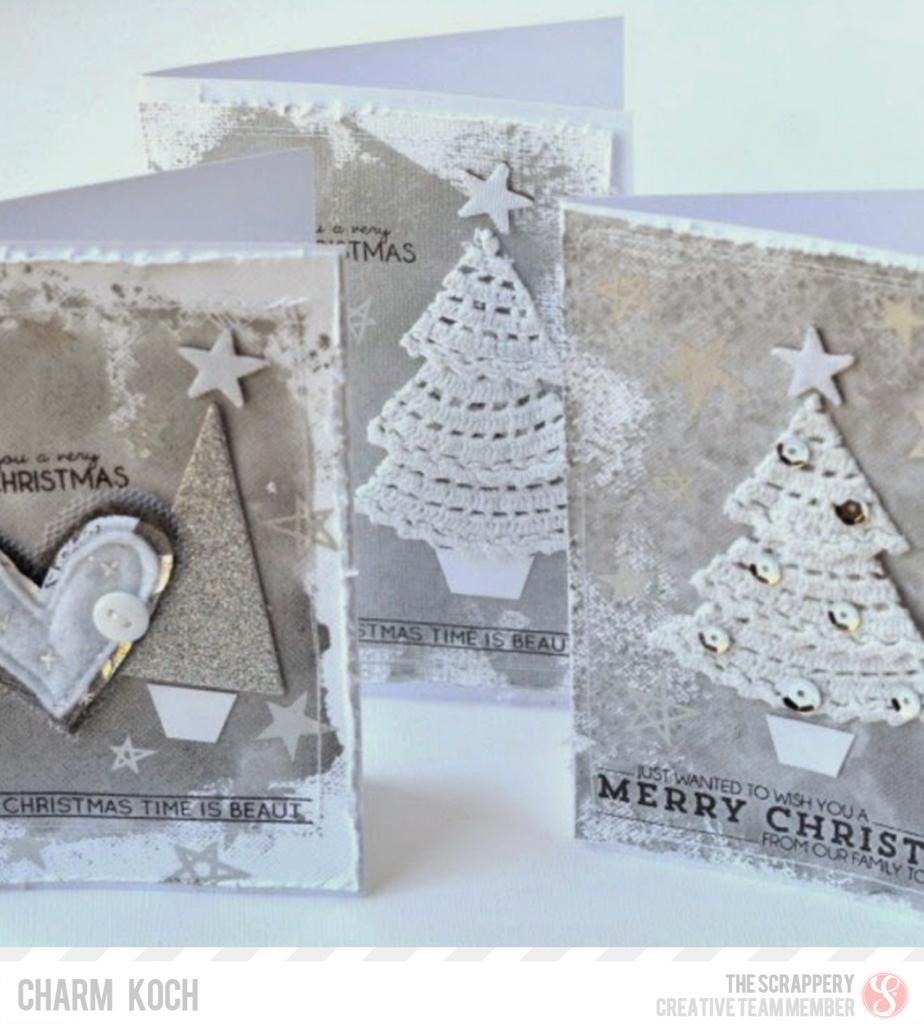
Here are a few more similar ones that I have made using the same background technique... I have also used the Studio Calico Silver rub-ons from the ELSA Kit on these cards too.
I'm planning on giving these {and more that I've made} to my relatives at my up and coming Family Get Together - I can't wait! Bring on Christmas!
I hope you all Have a Merry Christmas & a Happy New Year!
xo Charm
**************
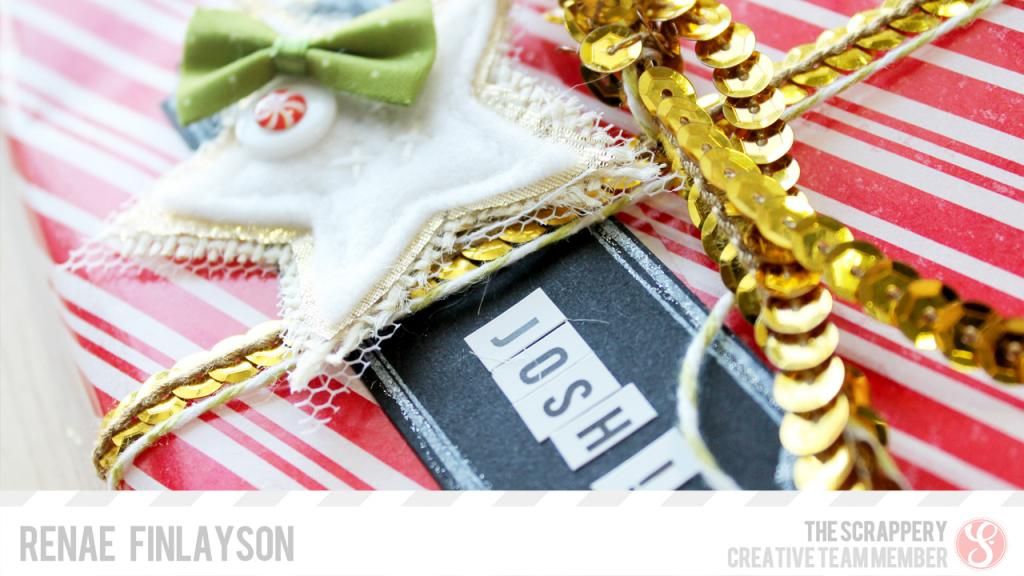
Wow Charm those cards were amazing!! After all that amazing eye candy, I think I am just going to give you one photo of my cute little tags and then the process video I created to show you all just how easy they are.
**************
Merry Christmas fellow Scrappers!
This week I have been working on some homemade Christmas
decorations for my new house, including this pretty no-so-traditional bunting
for my fireplace. Here’s a little step by step process to make these beauties,
and the great thing is, they are completely customizable! Include photos, text,
even journaling!
1. Start with two packets of DIY Shop Large
Chipboard Pennants and a collection of papers from the past couple of TSK kits
from The Scrappery
2. Attach the papers to the pennants using a dry
adhesive (wet may cause buckling of the paper).
3. Order your pennants in a desired colour order. I
decided on a random scattering of papers but you could consider a pattern, or
an ombre effect of colours too!
4. Now it’s the fun part…EMBELLISHING! Add as many
(or as little) embellishments as you like! I used a variety from the BPK Noelle
and various thickers from past kits and my stash. I also added a few
Christmassy photos too!
5. After you have finished embellishing your beautiful
pennants, it’s time to string them together! I re-poked through the paper to
make the holes visible, then grabbed some gold and white baker’s twine from my
stash and threaded them together. I used 11 pennants in total, which is about 2
metres worth of bunting.
6. Now
hang your beautiful creation!
Hope this can give you some ideas for some no-so-traditional decorations for your home!
Adele xxx
**************
Thanks so much for joining us on this blog hop. I hope that we have added to the tons of inspiration you have already received from some amazing designers. Be sure to continue to follow along to continue your Christmas DIY inspiration.
Merry Christmas everyone and we hope you have a very creative New Year xoxo


Some super inspiring creations from your team! Amazing!!!!!!!
ReplyDeleteThanks Amanda. We are so lucky to have an amazing team full of inspiration and creativity!!!
Delete