Showing posts with label Olivia. Show all posts

Monday, 15 April 2019

Messy Mondays

Art Journal 

You Bring Colour to My life


Happy Monday lovelies ... Hope you had a great weekend
It's that time of my week again where I get to share my art journal journey with 
This entry into my art journal was super fun to make and I used items from 3 different TCK.
Each week as well as learning new techniques to add into my art journal i have been teaching myself to blog. I am still finding what format I like the best so please let me know in the comments below what you think of how my Blogs come together. This week I am going to try not to  chit chat  so much and just make it more to the point with how my art journal entry was created.

This art journal entry i used 
American Crafts DIYshop gold acrylic paint from the 'Belle' TCK
Kaisercraft 12 x 12 template - Crosses from the 'Olivia' TCK
Tim Holtz Distress Paint - Blueprint Sketch from the 'Skye' TCK
all of these colour kits are available in The Scrappery Shop

I tore up some old book pages and used gel medium to randomly stick them all over a page from my disc bound art journal.
On a scrap piece of mixed media paper I traced a sun burst pattern from another kaisercraft stencil i have in my stash and did a coat of white gesso.


After I let the gel medium dry on the page with the book page background I also did a coat of white gesso on that to dull the print on the book pages.

Waiting again for the gesso to air dry, I then used a small cheap make up sponge from my stash to dab the gold acrylic paint ( belle TCK ) through the crosses template ( olivia TCK )
which I placed onto the page on an angle to make the crosses look like stars.

I was really happy with how the template worked with the acrylic paint which has a shiny finish when caught in the right light ( as you can see in the photo above )


Next step was to cut out the sun burst pieces I had covered with white gesso and to paint them with rainbow colours of Tim Holtz distress paints including the blueprint sketch.


I thought that the colour blocks looked great but with it being an art journal page I decided why not go a few steps extra ... i used a newsprint stamp with versafine black onyx ink and my favourite faber-castell black brush pen to do some doodling. I then took a random circle punched piece of card stock sitting on my desk covered it with some scrap book page added some white gesso ... finger painted some of the gold acrylic paint around the outside and stamped ' You Bring Colour to My life ' with the versafine ink. I glued all the sunburst pieces in order on the art journal page and placed the last minute circle embellishment in the centre and I think this completed this art journal entry nicely.

So what do you guys think ? Please do not be afraid to leave you're opinions in the comments below, feed back on my art journal journey and also how I am going with the blogs would be gratefully appreciated.

Until next Monday (Happy Mail Monday) have a fantastic week
💙 Stacy

Monday, 7 May 2018

More Cards using the Olivia Kits


Hello again my crafty friends! Cathi back again with my first projects featuring the gorgeous Olivia kits!! I went back to my first love, cards! These are always made easy with the Scrappery kits and the gorgeous collection More than Words by Cocoa Vanilla Studio, featured in this month's Olivia kits!  My main card I made features the Colour Kit (TCK) which I don't always use as much as I want to! This month I made a point of using the TCK to feature in my cards.


My first card here I decided to use most of the TCK.  For the base of the card I chose the "Precious" paper from the More than Words collection found in the main Scrapbooking Kit (TSK).  I added the Nuvo Creations paste and the plus stencil to the background and then used the embossing ink and stamps from the TCK to make the "love you" and hearts.  I added tons of layers, including lots of floral ephemera from the TSK. I added the chipboard sticker frame and butterfly to my collage. The coral paper flowers and clear rhinestones from Kaisercraft are found in the Bits and Pieces Kit (BPK).  I added the cardstock text sticker from the Pretty Little Kit (PLK) and finished off the card with some blue stitching and some twine.


My second card uses the "Collage" paper from the TSK as its base. I have layered a cut out from the "Treasure" paper along with some of the vellum. I added a bit of twine behind them. The coral small flowers and flair button come from the BPK, while the larger flowers and ephemera piece come from the TSK. The vellum butterfly is from the PLK.


For my final card I have again used the "Collage" paper from the TSK.  I have layered many gorgeous ephemera pieces and the chipboard sticker frames from the TSK along with the heart puffy stickers.  The "love you so much" sticker and butterfly vellum piece are from the PLK.  I finished the card off with twine and some stitching.

I hope you enjoyed my second set of cards with the kits and will consider subscribing. You can find the subscriptions HERE. Hope to see you back soon!!


Monday, 30 April 2018

Olivia Kits: Traveler's Notebook Layout


Hello again my crafty friends! Cathi back again with a traveler's notebook layout featuring the gorgeous Olivia kits!!  As I mentioned last week, our beloved cat (Unfortunately named Stumpy due to her stumpy tail, broken by a mean tomcat. My husband named her!!) passed away at 18 after a very short illness, thankfully. We were all heartbroken, especially because she has always been in such good health, and we just weren't prepared for it.  I knew I needed to do a layout as a tribute to her memory and the Cocoa Vanilla More than Words collection in the Olivia kits had some wonderful quotes and words about love that worked perfectly.


For the background paper I used on the photo page, I took the black floral Gossamer paper from the main Scrapbooking Kit (TSK).  The black tones in with the gorgeous colouring on our kitty and with the subject matter of a memorial page and mourning.  The heart stickers are chipboard stickers from the TSK and the "wonderful" tab and text stickers are cardstock stickers from the Pretty Little Kit (PLK). 


In this photo you can see the gorgeous "You are Loved" flair button from the Bits and Pieces Kit (BPK). The ephemera "my darling" and chipboard banner are from the TSK.


On my journal page I have used the gray thickers from the TSK to spell out Stumpy's name. The cardstock sticker "so very thankful for you" is from the PLK and the heart stickers and heart and arrow chipboard stickers are from the TSK.

These kits are just so versatile: planner projects, cards, scrapbooking, even mixed media!  I will have projects in all these genres coming up in the next few weeks! I hope that you will come and have a look at the kits and consider subscribing!!  You can find the subscriptions HERE. Hope to see you here soon!!

Monday, 23 April 2018

Planner Projects with the Olivia Kits!


Hello again my crafty friends! Cathi back again with some projects featuring the gorgeous Olivia kits!!  I missed last week as we had our beloved pet of 18 years, "Stumpy", our cat, pass away unexpectedly after a very short illness. We weren't expecting it as she had been in great health for so long and it hit the whole family very hard and I got sidetracked with my projects.  Next week I will be doing a Traveler's Notebook layout commemorating our cat with this gorgeous kit. We are still expecting to see her around every corner and it will take us a while to get used to her absence. Sigh.  My first set of projects here are the journal covers I made for my traveler's notebook. I love to change these every kit even if the notebook inside them might remain for several months. It freshens the look of my notebook and keeps the creative juices flowing.  The More than Words collection from Cocoa Vanilla is just so beautiful and feminine I am really loving the colors and how these projects turned out.


My first notebook cover uses the gorgeous watercolor paper "Darling Buds" from the More than Words collection found in the main Scrappery Kit (TSK). The deer is a chipboard sticker and puffy heart stickers are also from the TSK.  I fussy cut some butterflies from a journaling card in the Pretty Little Kit (PLK) and the cardstock stickers are from the PLK as well.  The rhinestones on the butterflies are from the Bits and Pieces Kit (BPK).


My next notebook cover is the gorgeous chevron paper from the TSK.  The flower and "moments" stickers are chipboard stickers from the  TSK as well as the puffy heart and the ephemera piece "remember this". The cardstock text sticker is from the PLK


For my final notebook cover I used the beautiful "Precious" paper from the TSK.  Again I've used chipboard frame, heart, love this and butterfly stickers from the TSK, along with the puffy heart stickers.


As well as my B6 traveler's notebook, I uses a micro sized traveler's notebook for my wallet and I have a set of 4 small dashboards that I can switch out with each new kit. For these I used a selection of papers from the TSK and a cut out from the PLK. I've added several ephemera pieces from the TSK along with my favorite puffy heart stickers. The deer is a cardstock sticker from the PLK along with the text sticker.


My final project is a planner spread using a combination of ephemera from the TSK and cardstock stickers from the PLK. I just love using the kits on planner spreads. I also did a bit of stamping using the stamp set in the PLK.

These kits are just so versatile: planner projects, cards, scrapbooking, even mixed media!  I will have projects in all these genres coming up in the next few weeks! I hope that you will come and have a look at the kits and consider subscribing!!  You can find the subscriptions HERE. Hope to see you here soon!!

Sunday, 11 March 2018

'magic' - Lydia

Good morning beautiful creative people, Lydia back finally to share another project. It's been a long time! It's been a crazy start to the year and getting used to grade 12 and all that it has install for me this year, including the huge workload that has taken weeks to get used to. But I am finally on top and ready to get fully organised and start creating and sharing again.

What better way to start sharing again with the brand new 'Olivia' kits. These kits are so sunning filled with the beautiful pastel colours of the new Cocoa Vanilla Studio collection 'More Than Words'.

So today I am sharing my first creation of a 12x12 layout using these kits.

 
I always find it so easy to create using colours and elements that I love. So working with the pinks, blues and butterflies this layout came together quite quick.
 
For this layout I did go for a more minimalistic style using the vellum black and white florals with the pops of pinks and corals from the butterflies. I also love the contrast from the greys to the bold black of those gorgeous Thickers. 
 
 
Of course I had to add some dimension using these KaiserCraft florals as a cluster under the photo.
 
 
On the opposite bottom side of the image to the KiaserCraft florals, I added a few pieces of ephemera from the ephemera pack as well as a ever beautiful flair from the collection. I also added some enamel dots/hearts around the whole layout too.
 
 
Over the whole layout are fussy cut butterflies from one of the 12x12 papers. I paired the butterflies with some of the vellum florals. I love how they are give the feeling that they are fling around the page.


And that is my first project using these kits. My fingers are crossed that you all receive your kits very soon to be able to start creating with such beautiful products.
 
Have a great Sunday.
Lydia xxx


Tuesday, 11 November 2014

October TSK - Olivia - Me and My Bro (with Sophie)

Hi there! I hope you are all well!
Today I created another layout for you using Olivia. This one has a completely different feel to the previous page I created using this gorgeous kit.

My layout incorporates colours from the Teresa Collin floral pattern paper in the kit. The black, gold and beige coloured pieces in the kit went really well this palette.
But to incorporate some more colour onto my page I delved into my own stash and found some PL cards from the Maggie Holmes Flea Market collection. They complemented my layout perfectly proving this kit is extremely versatile and can work well with your existing collection of papers and embellishments.
I really love how these two cards bought the layout together.
The design for this layout was inspired by an image I saw on Pinterest. I really wanted to try out a different page layout rather than my default style. Definitely think I'll use this sketch again!
To create my background I used the same technique I used on my layout here. I mixed some of the mint Heidi Swapp Colour Shine with some modelling paste and applied it over the stencil available in the Bits and Pieces Kit. I love this stencil! It is definitely becoming one of my favourites.


I also added some paper flowers from my stash to complement the flower image I cut out of the floral patterned paper.

I hope this layout has inspired you to open your kit (if you haven't already) and start creating.

Until next time, happy scrapping!
Sophie


Saturday, 1 November 2014

October TSK - Olivia - Cards (by Sophie)

Hi guys! It's Sophie here again, back to share with you some cards I created using Olivia, and maybe a hint of Taylor too.

The kit has so many products that are perfect to use on cards or even to create a mini album. The America Crafts ephemera pieces are especially great for this. They look great in a cluster which look awesome on cards or album pages.
Also, the small tags were screaming at me to use them on cards. The phrases are perfect for cards and I really wanted to show you guys a way to use them. Because they are SO lovely.

 I used some of the Heidi Swapp Colour Shine to add some splatters to my cards. (Surprise, surprise).
For this first card I went for a boy theme. I used gold, mint and black products from the kits. I love this colour scheme and it works especially well on 'new baby boy' projects. You can absolutely use this kit to create masculine layouts. It's all about choosing the right products.

Sequins are great to add something a little extra to your project. Olivia came with a gorgeous assortment of gold and pastel sequins and as you can tell I am in love with them.
 Here I took my paintbrush and some Colour Shine and added some strokes to the side of the card.

Thanks for stopping by today! Are you excited for the upcoming release?
I'll be back soon with another layout.
Sophie

Sunday, 26 October 2014

TSK - Process Video & Layout - Elijah (with Kayla)

Hello there, it's Kayla here today sharing my first layout with The Scrappery Kit - Olivia. I made this layout of my son using the gorgeous kraft swiss dot card stock that came in the kit as a background. I hope you enjoy this look at my layout and be sure to check out my process video too! xx


I really enjoyed making this layout - mistakes included. I think scrapbooking is all about making mistakes and making them work. I had no idea what I was doing when I started this layout, I just went with the flow!


Here's a pic of the whole layout. Sorry that the photo is a tad dark. I love this picture of my son. He looks so bright and happy, which he usually is! I know I ended up going with a corny title...but kids make you corny. If anyone listened into my conversations with my son they would think I was a fruit loop!


I loved these Teresa Collins Nine & Co vellum words. They add such a subtle soft touch to your layout and I used my favourite new date stamp by Heidi Swapp.


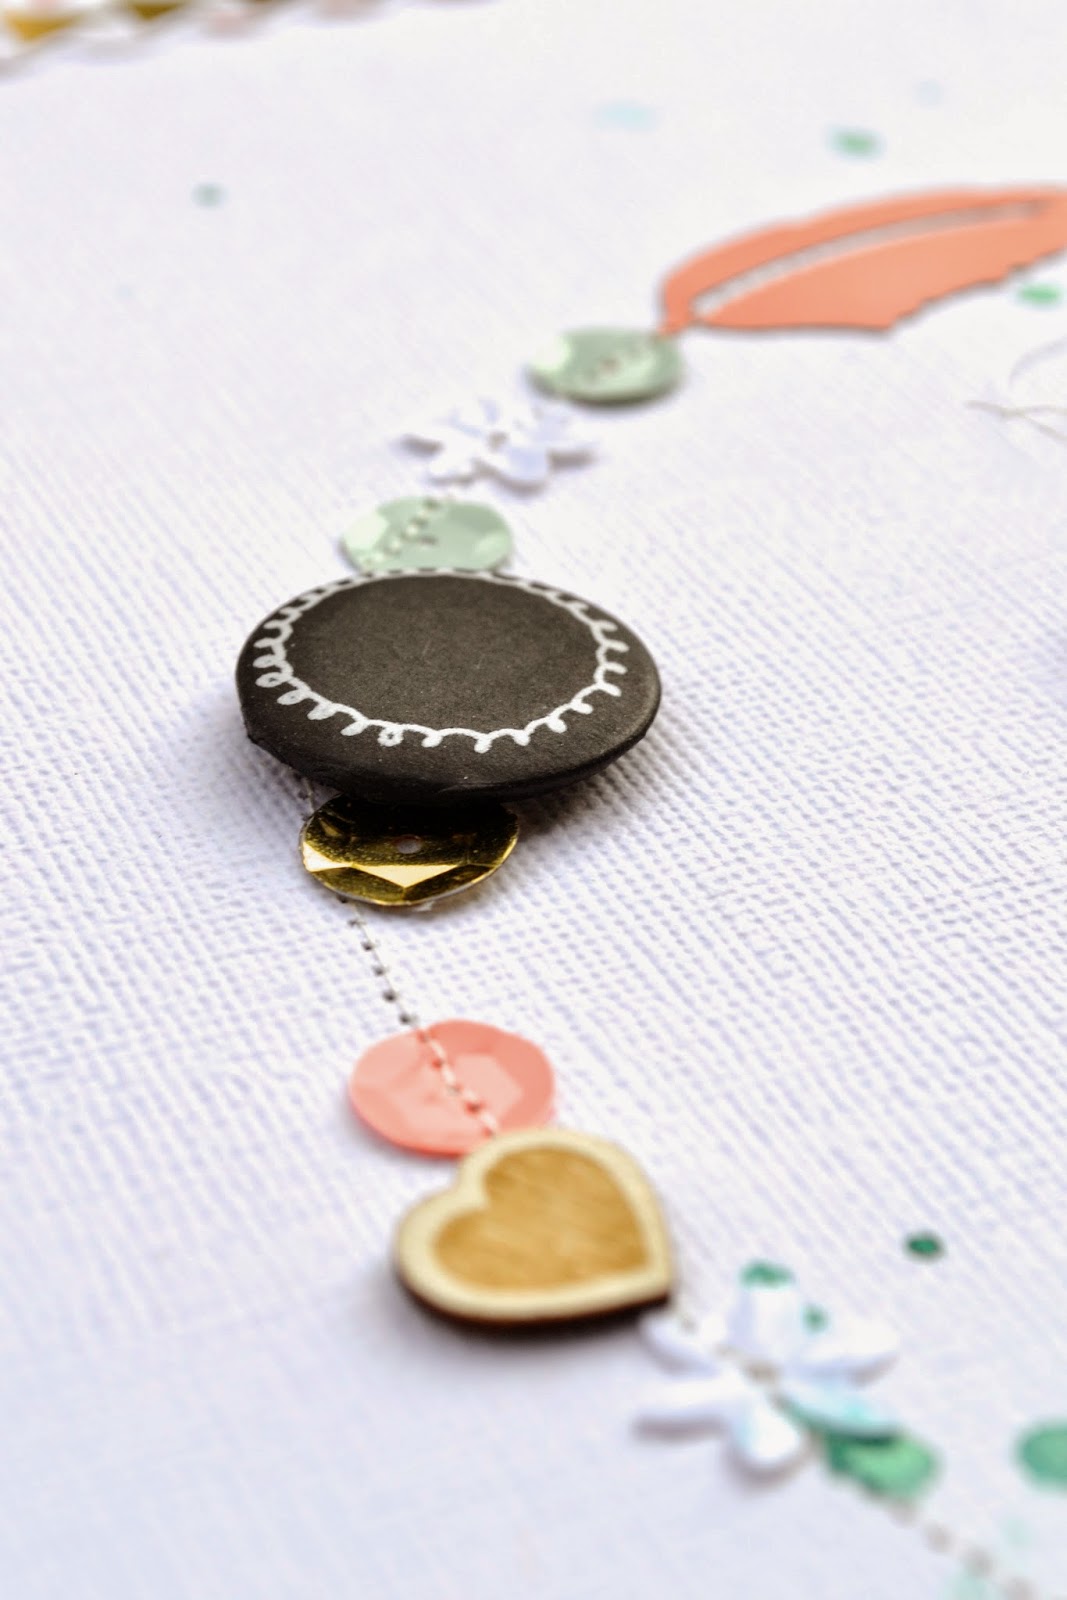
This is one of the American Crafts DIY shop chalkboard speech bubbles. I love the American Crafts chalkboard markers to use on these as well!


I hope you enjoyed this look at my layout.

If you would like to purchase one of these gorgeous SCRAPPERY KITS you can find them in the store HERE.


Tuesday, 21 October 2014

TSK & BPK - Olivia & Taylor - Layout and Process Video

Hi again Scrappery fans!

Today I have a layout and a process video for you using both Olivia and Taylor, the TSK and BPK for October. These two kits were made for each other. I am in LOVE with the colour palette of mint, peach and apricot. Yum!

I was inspired by the sequins and feathers in The Scrappery Kit to create this design. SO MANY SEQUINS in this kit so you'll still have plenty left over for your other projects. Which is lucky because they are GORGEOUS. Pastel sequins are officially my favourite type of sequin.


I mixed the Heidi Swapp Colour Shine from Taylor with some modelling paste and I was super HAPPY with the results. I applied it over the Heidi Swapp stencil which added an awesome colour and texture to the background. 

I love these numbers which come in the the ephemera pack in Olivia. The font, colours and textures are just stunning. Too bad there is only one of each number! (Sad face).


For on the tips and tricks I used on this layout please check out the process video below! (If you haven't already!)


Thanks for stopping by the blog today! I hope you are having fun playing with your beautiful kits this month!
Until next time.
Sophie