Showing posts with label Design Team. Show all posts

Friday, 26 July 2019

Lisa with a 12X12 Layout share using the Amora Kits

Hey There.

Lisa back again, to share a layout using the 'Amora' Kits.

Today's layout is a totally different look achieved with the same kits. I am sure you will agree these kits are at glance mostly soft florals with lots of pink and other pastels, as they contain the gorgeous Cocoa Vanilla 'Happiness' collection.


So as you can see this is a very BLUE layout, almost monochromatic. Different shades of blue with some touches if white.

I like to challenge myself and also try to think out side the square, I think it helps keep things interesting and extends the usability of a kit.

Once I decide to do a layout like this, I pick out as many papers and embellishments from the kit in this colour - I may not use them all but I have a selection to work with.


This design is very simple and clean, but still allows you to build the layers.
I basically cut each element in half and replicated it mirrored on each side.

You can see the photo is almost a little over exposed with a blue tinge, which is also accentuated by the blue surrounding it.


Punching some shapes can help increase the amount of elements you have to work with in the same colour or coordinating.


The word pieces from Cocoa Vanilla make creating a title super simple.


Here you can see I embossed the first/last layer of white card layering to add more interest and texture. It also helps everything work together more cohesively. 

Some ephemera and enamel dots as always help bring everything together.


I hope you have enjoyed my share today and it encourages you to look at your kits and stash differently too.

Make sure you stop by the shop to check out all the goodies and kits available.

Have a great day :-)


Monday, 17 June 2019

Happy Mail Monday

Happy Mail #1 Amora

with Stacy

Heya lovelies ... seems like a hot minute since I have shared any creations on the blog, but so super excited to share the very first Happy Mail I made using the amazing new
 Amora TSK , PLK & BPK.


There is 4 different elements to this Happy Mail 
Element no.1 is this beautiful Purse style embellishment box which I created using a tutorial from a very talented paper crafter that i follow on YouTube. Sherry's channel is 
The Posh Paper Lady and this is the link to the tutorial for the purse I made.
Please take the time to have a look at Sherry's channel I promise you will not be disappointed and will want to make all the pretty things.
To make the purse I used a 12 x 12 pattern paper sheet from the Amora TSK which features products from another spectacular collection from Cocoa Vanilla Studios 'Happiness' 1 sheet of coloured card stock and I die cut the bow from a 6x4 card from the Amora PLK.
Element no. 2 is a die cut key chain fob which I cut from Navy card stock, I die cut another smaller bow from the same pattern paper. The bow is glued onto a part of the pretty applique that is in the BPK and I added a paper rose that is included in both the TSK & the BPK in the centre and made a little paper tassel from some of the scrap pattern paper.

Element no. 3 is a mini tag flip book ... I just put together a few pieces of card stock and covered them with a variety of different papers from the Amora Kits. Copic coloured and paper pieced some stamped images and decorated the pages using ephemera, paper flowers,cut apart  and doilies from the Kits. All of the mini pages are bound together with a book ring and along with the teal coloured string from the Amora kit i added some different trims to make a tassel to hang from the book ring.

Element no.4 is a shaker memory dex card. To create this I used pattern paper from the Amora TSK . I copic coloured and paper pieced another stamped image using a 3x4 card from the PLK to paper piece her dress and hat. I used some acetate and sewed this onto the memory dex card to make a little pocket to hold the sequins that are included in both the TSK & BPK . The scallop shaped  strips I cut from the cut apart sheet included in the TSK. I used the stay colourful ephemera piece from the Happiness collection which is backed with a tab from the cut apart sheet that is included in the PLK. I also added some paper flowers on the front of the Memory dex card ( you can never have to many pretty paper flowers )

 I am so pleased with how this came together with all 4 elements not only fun to make but have turned out stunning as everything across all kits just come together and make creating pretty things a breeze.To become part of The Scrappery subscription family send an email to   scrapperykitclub@gmail.com but be quick as there is only limited quantities of this stunning kit left.
I hope you all enjoy the first of my 'Amora' creations and cant wait till I have another to share with you guys ... 
until next time 
๐Ÿ’™ Stacy x


Friday, 19 April 2019

Beautiful Together Layout with Lisa & the Skye kits

Hi there, Lisa here today to share a layout using the Skye kits.


I have been wanting to scrap this photo of my sister & her partner for a while now. Just a case of waiting for the perfect paper/collection.
The Skye kits hit it out of the park with so many possibilities with all the Cocoa Vanilla 'Midnight' goodies to choose from.

I am so happy with how it turned out & its created a real feature page for a special photo.

My sister had just been proposed to ๐Ÿ’—๐Ÿ’—๐Ÿ’—


We got this super gorgeous die cut piece & background in our kits.

I have seen lots of people create with this, with some really stunning outcomes.

I decided to use it a little but differently.

I offset the die cut by turning it slightly so it create a different look on the pattered backing.


In this photo you can see how I offset the die cut to the background paper.

I decided I wanted a stitched outline. I use a large eraser to sit behind the background (under where I want to pierce) then use my paper piercer to create holes. I do this by eye estimating the spacing, I am not looking for perfection, I just want it pleasing to the eye.
If you feel the need, you can certainly make small dots with a pencil first.


I did a simple back stitch with a double strand of gold thread.
A note...when I applied the adhesive the die cut to attach it to the background paper, I was careful to avoid outing any adhesive on the outer circle as I knew I would be stitching it.


Some close ups...lots of soft pretty layers.


The doilies from the kit are a great way to create layers softly.

The words are a fun & easy way to create a title.


Kits & collections make creating a layout much simpler, as all the matching up is already done for you. I try to pick out a few pieces to work with at a time, to simplify things.


Thanks for stopping by I hope you have enjoyed my share today. 


Lisa XO


Tuesday, 26 March 2019

Week 10 Project Life - Lydia

Good morning everyone, Lydia back to share a project using the beautiful new Skye Kits from The Scrappery Kit Club. I am very excited to be back and creating after having bit of a break while I finished and graduated from High School. I am now onto a new journey of University studying a Bachelor of Photography.

Here is the full single page pocket page spread using the Pretty Little Kit (pocket page).


Currently taking it back to 2017 to try and catch up on my Project Life album and what better way to do so is using The Scrappery Kits that are full and ready to use with all the gorgeous products from Cocoa Vanilla Studio.

Oh my!! Those Thickers were perfect to add a little tiny touch of subtle sparkle to the layout for the weekly title card as well as one of those delicate doily's.


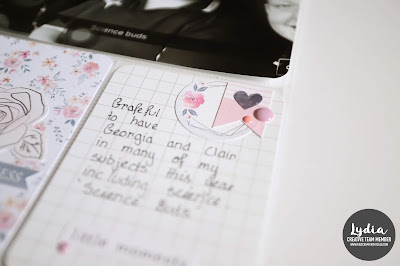
A handmade filler card using some of the Cocoa Vanilla Studio stickers.


 Perfect amount of embellishing for a journal card.


I hope you all enjoyed this little project I have made using the new Skye kits and I cant wait to share another project soon.

Lydia xxx

Thursday, 28 February 2019

My First Layout with the Skye Kit

Hello everyone, its Melissa here and I'm so excited to be back designing for The Scrappery!!  The Skye kit is beautiful, and features Cocoa Vanilla Studio's "Midnight" collection.

For my first project I decided to make a layout with some of the beautiful flowers.  I used fussy cut flowers from one of the papers, and I used die cut flowers too.  I just love how they have a painterly watercolour look.  The photo is of my four year old playing in the paddling pool this summer.


I love using my Sillhouette Cameo, and was insired by the terarrium die cut in the kit that has flowers on it.  I had to recreate this, so I found a terarium cut file at Handipaper.  I painted the cut file with some gold acryclic paint that got in a previous Scrappery kit.  I had to add several coats to get the look I wanted.  


Another close up of the fussy cut flowers, I could easily create with several pieces of that paper!


I hope you enjoyed my first project. I'm looking forward to posting both on her and on the Scrappery YouTube Channel too.  

Thanks for looking!
Melissa xxx


Sunday, 1 April 2018

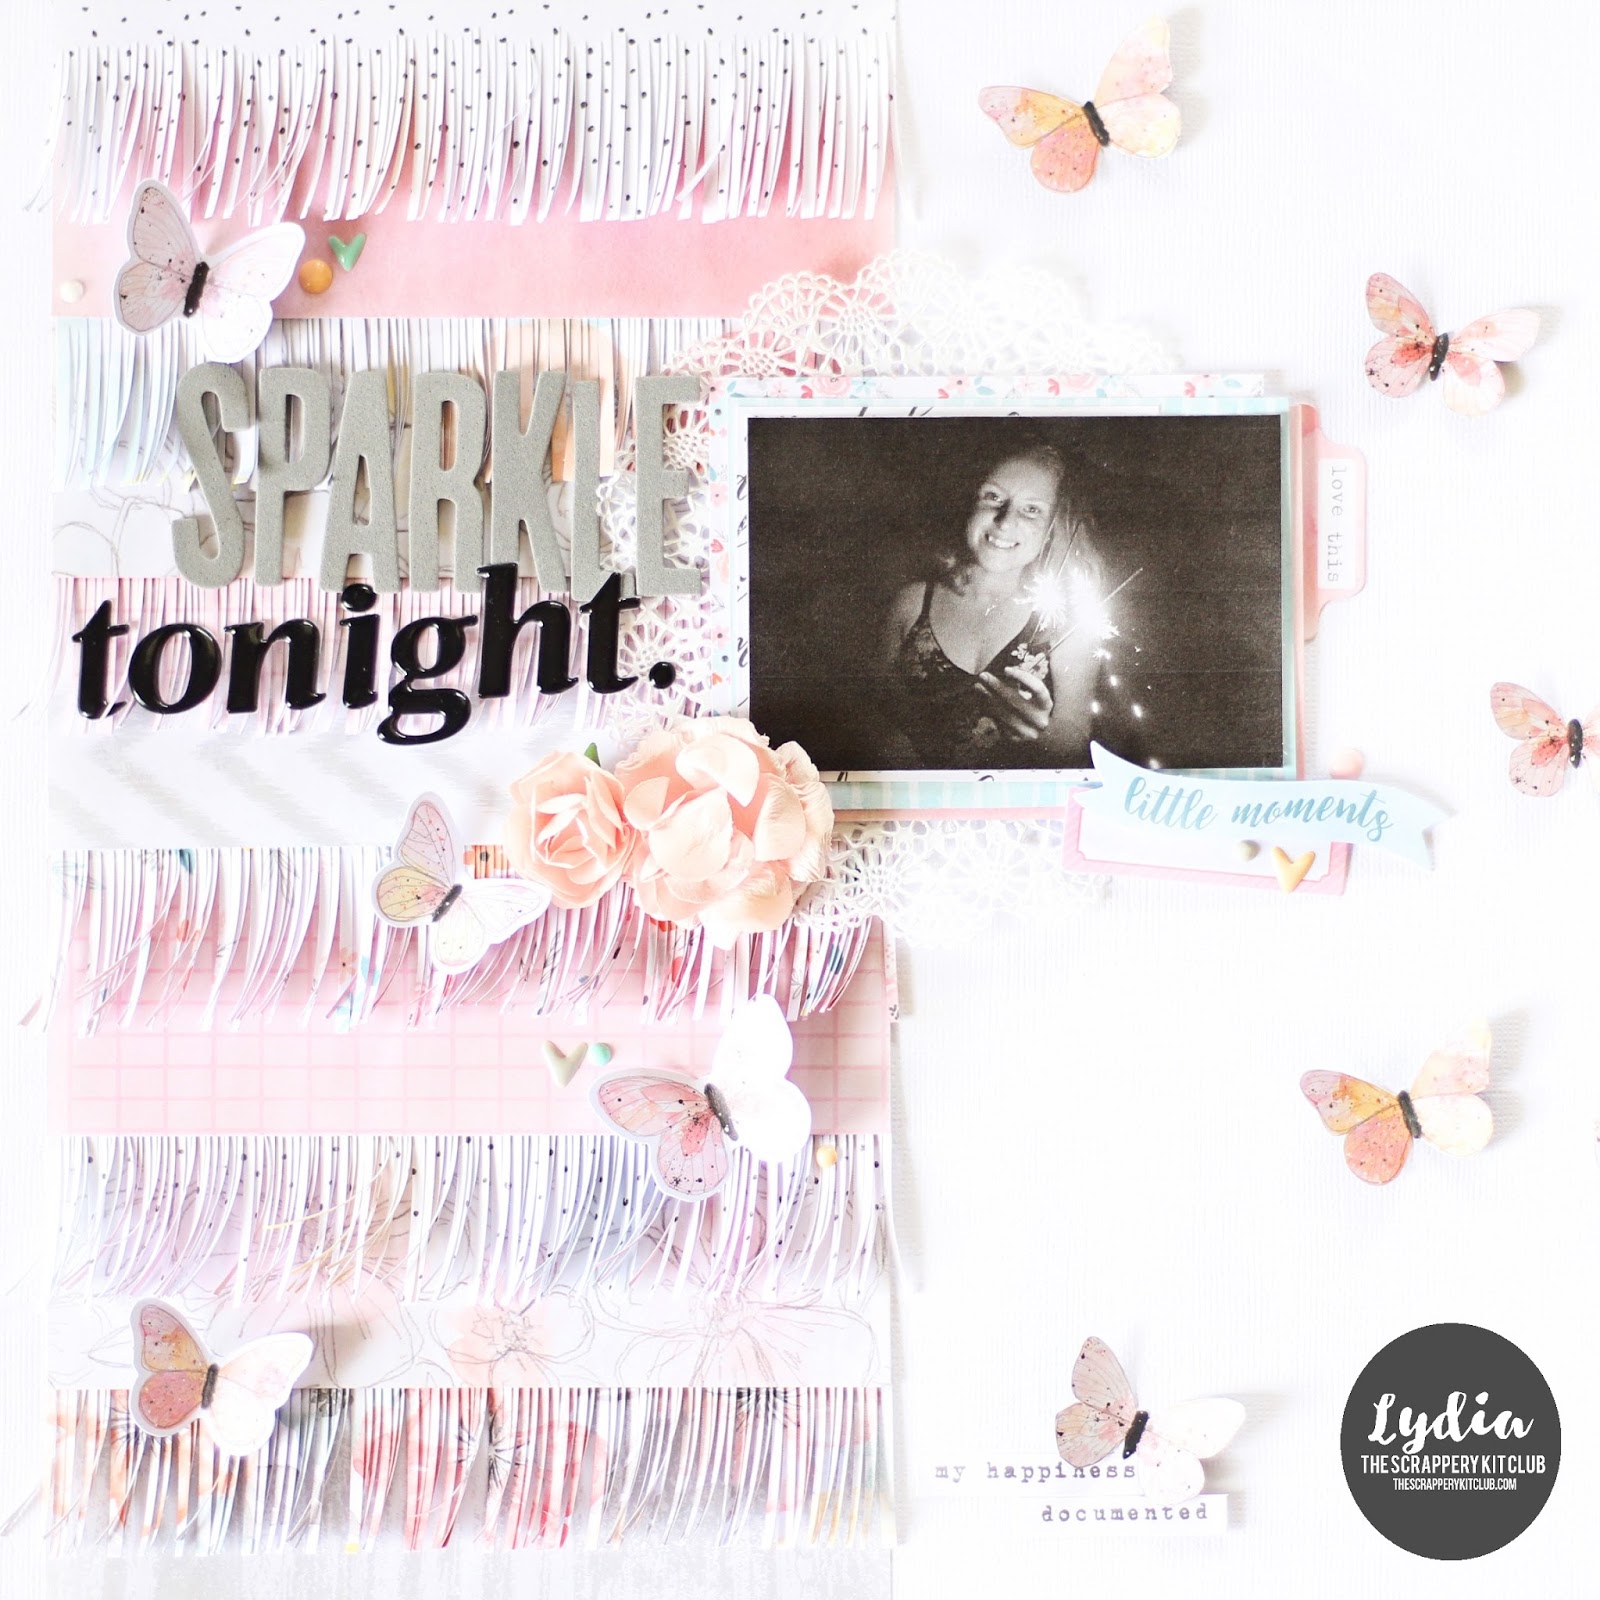
'SPARKLE tonight' - Lydia

Hello Scrappery friends, Happy Easter to you all!! I hope you are all enjoying your weekend filled with loads of chocolate and hot cross buns.
 
So today I am back to share another layout using the new 'Olivia' kits. I am hoping you have all received your kits by now and are enjoying creating with them. 
 
 
Now what's a layout without some pretty KaiserCraft flowers. These blush flowers work beautifully with the Cocoa Vanilla Studio collection 'More Than Words'. This collection is also perfect for those Easter photos you will have to documenting as the pastel colours are perfect.
 
 
I can just say now that all my projects using the 'Olivia' kits will have fussy cut butterflies, because they are gorgeous.  
 
 
This layout doesn't have many embellishments are the main feature is the fringed paper that I cut using the patterned paper in he kits. For my title I added I used the two differ Thickers that come in the kits tooo.


Again, I hope you are all enjoying your Easter weekend and maybe get a little creative time to have a pay with your kits.
 
Lydia xxx 


Sunday, 18 March 2018

'SNAP' - Lydia

Good morning scrappy friends. I hope you are all having a wonderful weekend and that you have all received your new "Olivia" kits.

Today I am sharing another 12x12 layout using the last kit called "Willow". I love this kit as it has such bright fun colours. So here is my layout, featuring some hexagons.


These Thinkers in the "Willow" kit are stunning, I love them so much. They are just perfect to give the layout a little bit of sparkle.
 
 
I had a lot of fun picking out the patterned paper for the hexagons. Once I had worked out the placement of each one I picked a few to hand stitch around with just some white embroidery thread.
 
 
Of course I made some clusters around the layout. This cluster below has some thin embroidery thread as well as one of the pretty charms from the 'Good Vibes' Crate Paper collection which is feature in these kits, some enamel dots and that gorgeous bird ephemera from the ephemera pack. It's the bird the cutest?
 
 
I used the stamp set from the "Good Vibes" collection that is in the kit as well to add a bit of a feature to where there was some plain space on the layout. And I love that typewriter font too.
 
 
And another little cluster.


Overall I had some fun making this layout and I hope you are inspired to finish the weekend with some creative time.
 
Have a great day Lydia xxx


Sunday, 11 March 2018

'magic' - Lydia

Good morning beautiful creative people, Lydia back finally to share another project. It's been a long time! It's been a crazy start to the year and getting used to grade 12 and all that it has install for me this year, including the huge workload that has taken weeks to get used to. But I am finally on top and ready to get fully organised and start creating and sharing again.

What better way to start sharing again with the brand new 'Olivia' kits. These kits are so sunning filled with the beautiful pastel colours of the new Cocoa Vanilla Studio collection 'More Than Words'.

So today I am sharing my first creation of a 12x12 layout using these kits.

 
I always find it so easy to create using colours and elements that I love. So working with the pinks, blues and butterflies this layout came together quite quick.
 
For this layout I did go for a more minimalistic style using the vellum black and white florals with the pops of pinks and corals from the butterflies. I also love the contrast from the greys to the bold black of those gorgeous Thickers. 
 
 
Of course I had to add some dimension using these KaiserCraft florals as a cluster under the photo.
 
 
On the opposite bottom side of the image to the KiaserCraft florals, I added a few pieces of ephemera from the ephemera pack as well as a ever beautiful flair from the collection. I also added some enamel dots/hearts around the whole layout too.
 
 
Over the whole layout are fussy cut butterflies from one of the 12x12 papers. I paired the butterflies with some of the vellum florals. I love how they are give the feeling that they are fling around the page.


And that is my first project using these kits. My fingers are crossed that you all receive your kits very soon to be able to start creating with such beautiful products.
 
Have a great Sunday.
Lydia xxx


Sunday, 20 August 2017

"Chasing Dreams" Gift Set - Lydia

Good morning, I hope you ae enjoying your weekend and are able to get some creative time in before the week ahead. Well today I have a quick and simple little project I made using the gorgeous 'Blair' kits. I have already told yo all how much I love these kits.

So here is my project. Just a simple card and a tag. This would be perfect to finish off a gift with a because card and tag. These colours just call for my attention with the touch of gold also.


This is a simple by pretty card I made using some scrap pieces of paper. I added one of those beautiful gold puffy stickers, some of the chipboard Thickers, enamel dots from my stash and some ink splatters also to finish the card off.
 
 
Here are some close ups of the card.


Now the tag I love! Again I used some scrap pieces of paper that are included in the kits, some chipboard Thickers again and some more of the beautiful Maggie Holmes puffy stickers. And nothing is finished without some enamel dots that are from my stash.

 
Here are some close ups.


I hope this little project I have created this week has inspired you to make just a little something even if it is just a card or a simple tag.

Hope you all have a wonderful week ahead.
Lydia xxx